
Growing up in Deep South Texas meant lots of delicious comida Mexicana. Vibrant colors and rich flavors are a way of life along the border towns of the Rio Grande Valley, where everyone enjoys the combination of Texas charm and latin influences.
At an early age, my grandmother taught me to make frijoles a la charra. It’s such a simple recipe that, after all these years, I’ve only changed it once — and that was to make it spicier.
First things first, here’s what you’ll need to make 1 pound of frijoles.

STEP ONE: CLEAN THE BEANS
If you’re like me, then I’m sure you shoved your hands in a barrel of frijoles as a kid. Watching other people do this at the grocery store is the main reason why I always wash the frijoles! You must do this, too.
My Memo made me focus in on this task. It was one helluva way to keep a kiddo busy – especially when prepping the beans for a large BBQ or family dinner.
Clean beans taste better. It’s as simple as that. You can tell if someone simply dumped a bag of beans into a pot because the impurities will show up – and let me just say this: no one likes piedras (rocks) in their frijoles. That’s just gross.
Cleaning beans is not difficult. Carefully pour the pinto beans onto a clean countertop or table. Then, sort them apart in a section at a time. It’s not an exact science. The aim of this method is to separate the broken half hulls, any funky looking bits, and any potential rocks (yes, rocks) or sediment that may have ended up in the package, from the beans you plan on eating.

Make sure to separate them out a few at a time, careful to set aside the unsuitable ones. Sweep all the favorable ones into the colander or strainer. This entire process should take about 5 minutes for one bag of beans. Don’t worry if you don’t get it done this fast – this takes practice. Here’s what those fractured pieces look like:


Once you’ve placed the beans you plan on eating in the colander, make sure to run them under cold water. If you have time, I recommend rinsing them thoroughly – gently swishing them around under the running water for about 3-4 minutes.
Then let them soak for 4-12 hours. My grandma is a big fan of soaking beans overnight. Soaking them removes some of the sugars in the beans, making the cooking process much faster. However, your overall wait time is obviously much longer. I tend to only do this if I’m making beans for a large group, as it helps with the prepping and planning.
Since I have no self-control, I prefer to have my beans now! Which means I don’t typically soak them. I mean…they’re delicious, and I can eat them with so many tasty main dishes. So, why wait? They’ll cook in about 2-2.5 hours, depending on how long you need them to simmer to perfect softness.

STEP TWO: CUBE THE SALT PORK
The secret to the best beans is salt pork. I know plenty of recipes that use bacon – which is still super tasty – but the best beans use salt pork. HAnds down. Salt pork is salt-cured pork. It is usually made from pork belly and typically looks much like an uncut slab of bacon, but is fattier. All this means is that your beans will be packed with FLAVOR!

Cube the salt pork into half-inch chunks. Leaving them bite-sized makes the flavor bombs much easier to eat. Add the salt pork pieces to the pot. Personally, I like to use a spaghetti pot, this way I don’t have to worry about any boil-over. Set the pot on a burner, turning the heat up to about medium high.
Feel free to cook the pork down just a bit (sauteè the pork until the meaty chunks begin browning, or the aroma in your kitchen becomes heavenly), — this extra step will add more tastiness to your beans.

STEP THREE: COMBINE INGREDIENTS!
Once the beans are thoroughly rinsed and drained, transfer them from the colander to a large pot, along with the 12 cups of water. While the water comes up to a boil, dice your large onion (or two) – which should yield approximately 2 cups. Helpful tip: You can purchase diced, frozen onions instead of chopping a fresh one!
Add the onion to your pot of beans. Then add the can of habanero Rotel. If you don’t like spicy foods, you can forego the habanero peppers and simply choose a can of classic Rotel. The original Rotel adds great flavor without the spice. If you want to kick it up a notch, combine the habanero Rotel and a diced jalapeño pepper (or two), to the pot [depending on your spice needs.]


Finally – add the two bouillon (I used Knorr consomate) cubes.
Pro Tip: Start with 1.5 cubes and then add the last half after tasting the finished product (you don’t want beans that are too salty.) If it’s a bit too salty, you can easily add half-cup increments of water to reach your desired taste.
Stir everything together and get the mixture up to a boil. Then, drop the heat to a simmer, medium/medium-low heat. Continue simmering the frijoles for another 2 hours, stirring them occasionally.
Taste the frijoles after simmering for two hours. Once soft, the beans are ready to eat. If they’re not quite tender yet, then let them simmer for another 15 minutes or so. Feel free to add salt or pepper to taste. Just before serving, set the frijoles to low and stir in the cilantro – roughly chopped.
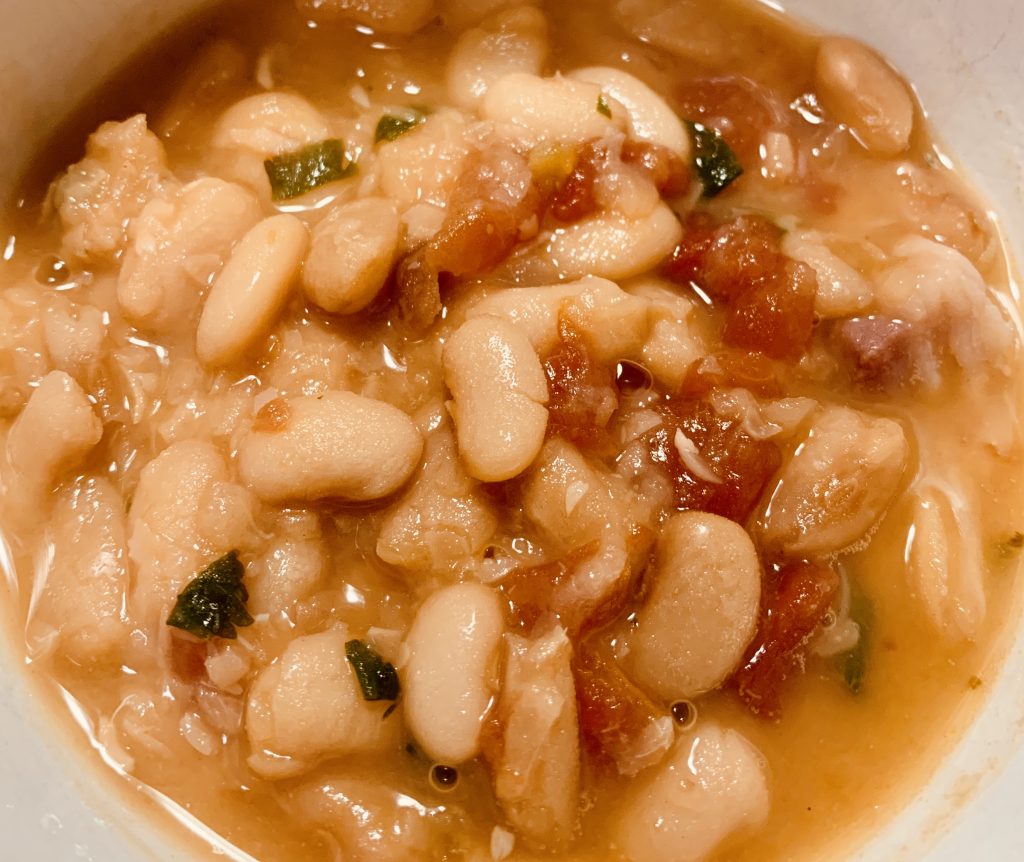
Violà! There you have it. This recipe is a family favorite. The hardest part of making this dish is the wait time to eat the frijoles! On the plus side, once you get everything in the pot to cook, you’ve got plenty of time to work on a main dish or other side dishes. YUM!
As an added bonus? You can freeze cooked portions of your frijoles for 2-3 months. WOO!
Frijoles are great any time of day. I especially love pairing them with fideo (Mexican vermicelli dish, below), entomatadas (red tortilla dish, below), and calabaza con pollo. My absolute favorite complementary dish? My own version of “mexican breakfast” which is the image that caught your attention to get you here. 😉 See? So many options!
Frijoles are versatile and happen to be a staple in many latin households.
I hope you love them as much as I do.
Let me know what you think of this recipe.


Buen provecho!
