Categories
Recipes

Best Damn Cheesesteaks


eating


I rarely get to post recipes anymore. This cheesesteak post was a long time coming, too. I made these for the Beau and his besties for boys night a while back. They gave rave reviews and demanded I make them again soon.

These Philly cheesesteaks are so easy to MAKE!
They’ll taste like they took forever, but you’ll have them on the table in under 45 minutes. 

Truly, the majority of the time goes into the fact that this recipe makes 2 entire 8×11 pans worth of buttery goodness.

What You’ll Need:
3 lbs. of shaved rib-eye (ask the butcher to shave it, this way you cut down your prep time)
3 large green bell peppers (slice, about 1/4″ thick)
2 medium-sized onions (thin slices)
1lb. of Provolone Cheese
2 packages of Hawaiian Rolls (slice horizontally to separate tops and bottoms)
Salt & Pepper, to taste
1 stick of butter, halved.
1 T of Olive Oil


Alright. Prepare yourself. 

serious


The Cooking Part:

  1. Preheat the oven to 350 degrees
  2. Add the oil and half 1/3 of the butter stick to a large pan
  3. Add the shaved rib-eye to the pan + the salt and pepper (I add about 1T of each)


  4. Brown the rib-eye, then remove it from the pan and place it in a bowl; KEEP the pan drippings in the pan though!
  5. Add onions and bell peppers into the pan that has the drippings, sauté until soft
  6. Place the bottom halves of the Hawaiian bread into two separate baking pans
  7. Melt the other 2/3 of the butter and brush a light coat onto the Hawaiian bottoms
  8. Lay down a layer of provolone cheese on top of the brushed Hawaiian bread
  9. Add a layer of the ribeye, distribute evenly
  10. Distribute the onions and bell peppers evenly over both pans (make sure to include the drippings!)


  11. Add another layer of Provolone cheese.
  12. Place the tops of the Hawaiian buns over the glorious feast you’ve already assembled
  13. Brush some more butter over the topsIMG_9612
  14. Pop them in the oven for about 10 minutes, or until tops a crunchy golden brown

IMG_9616

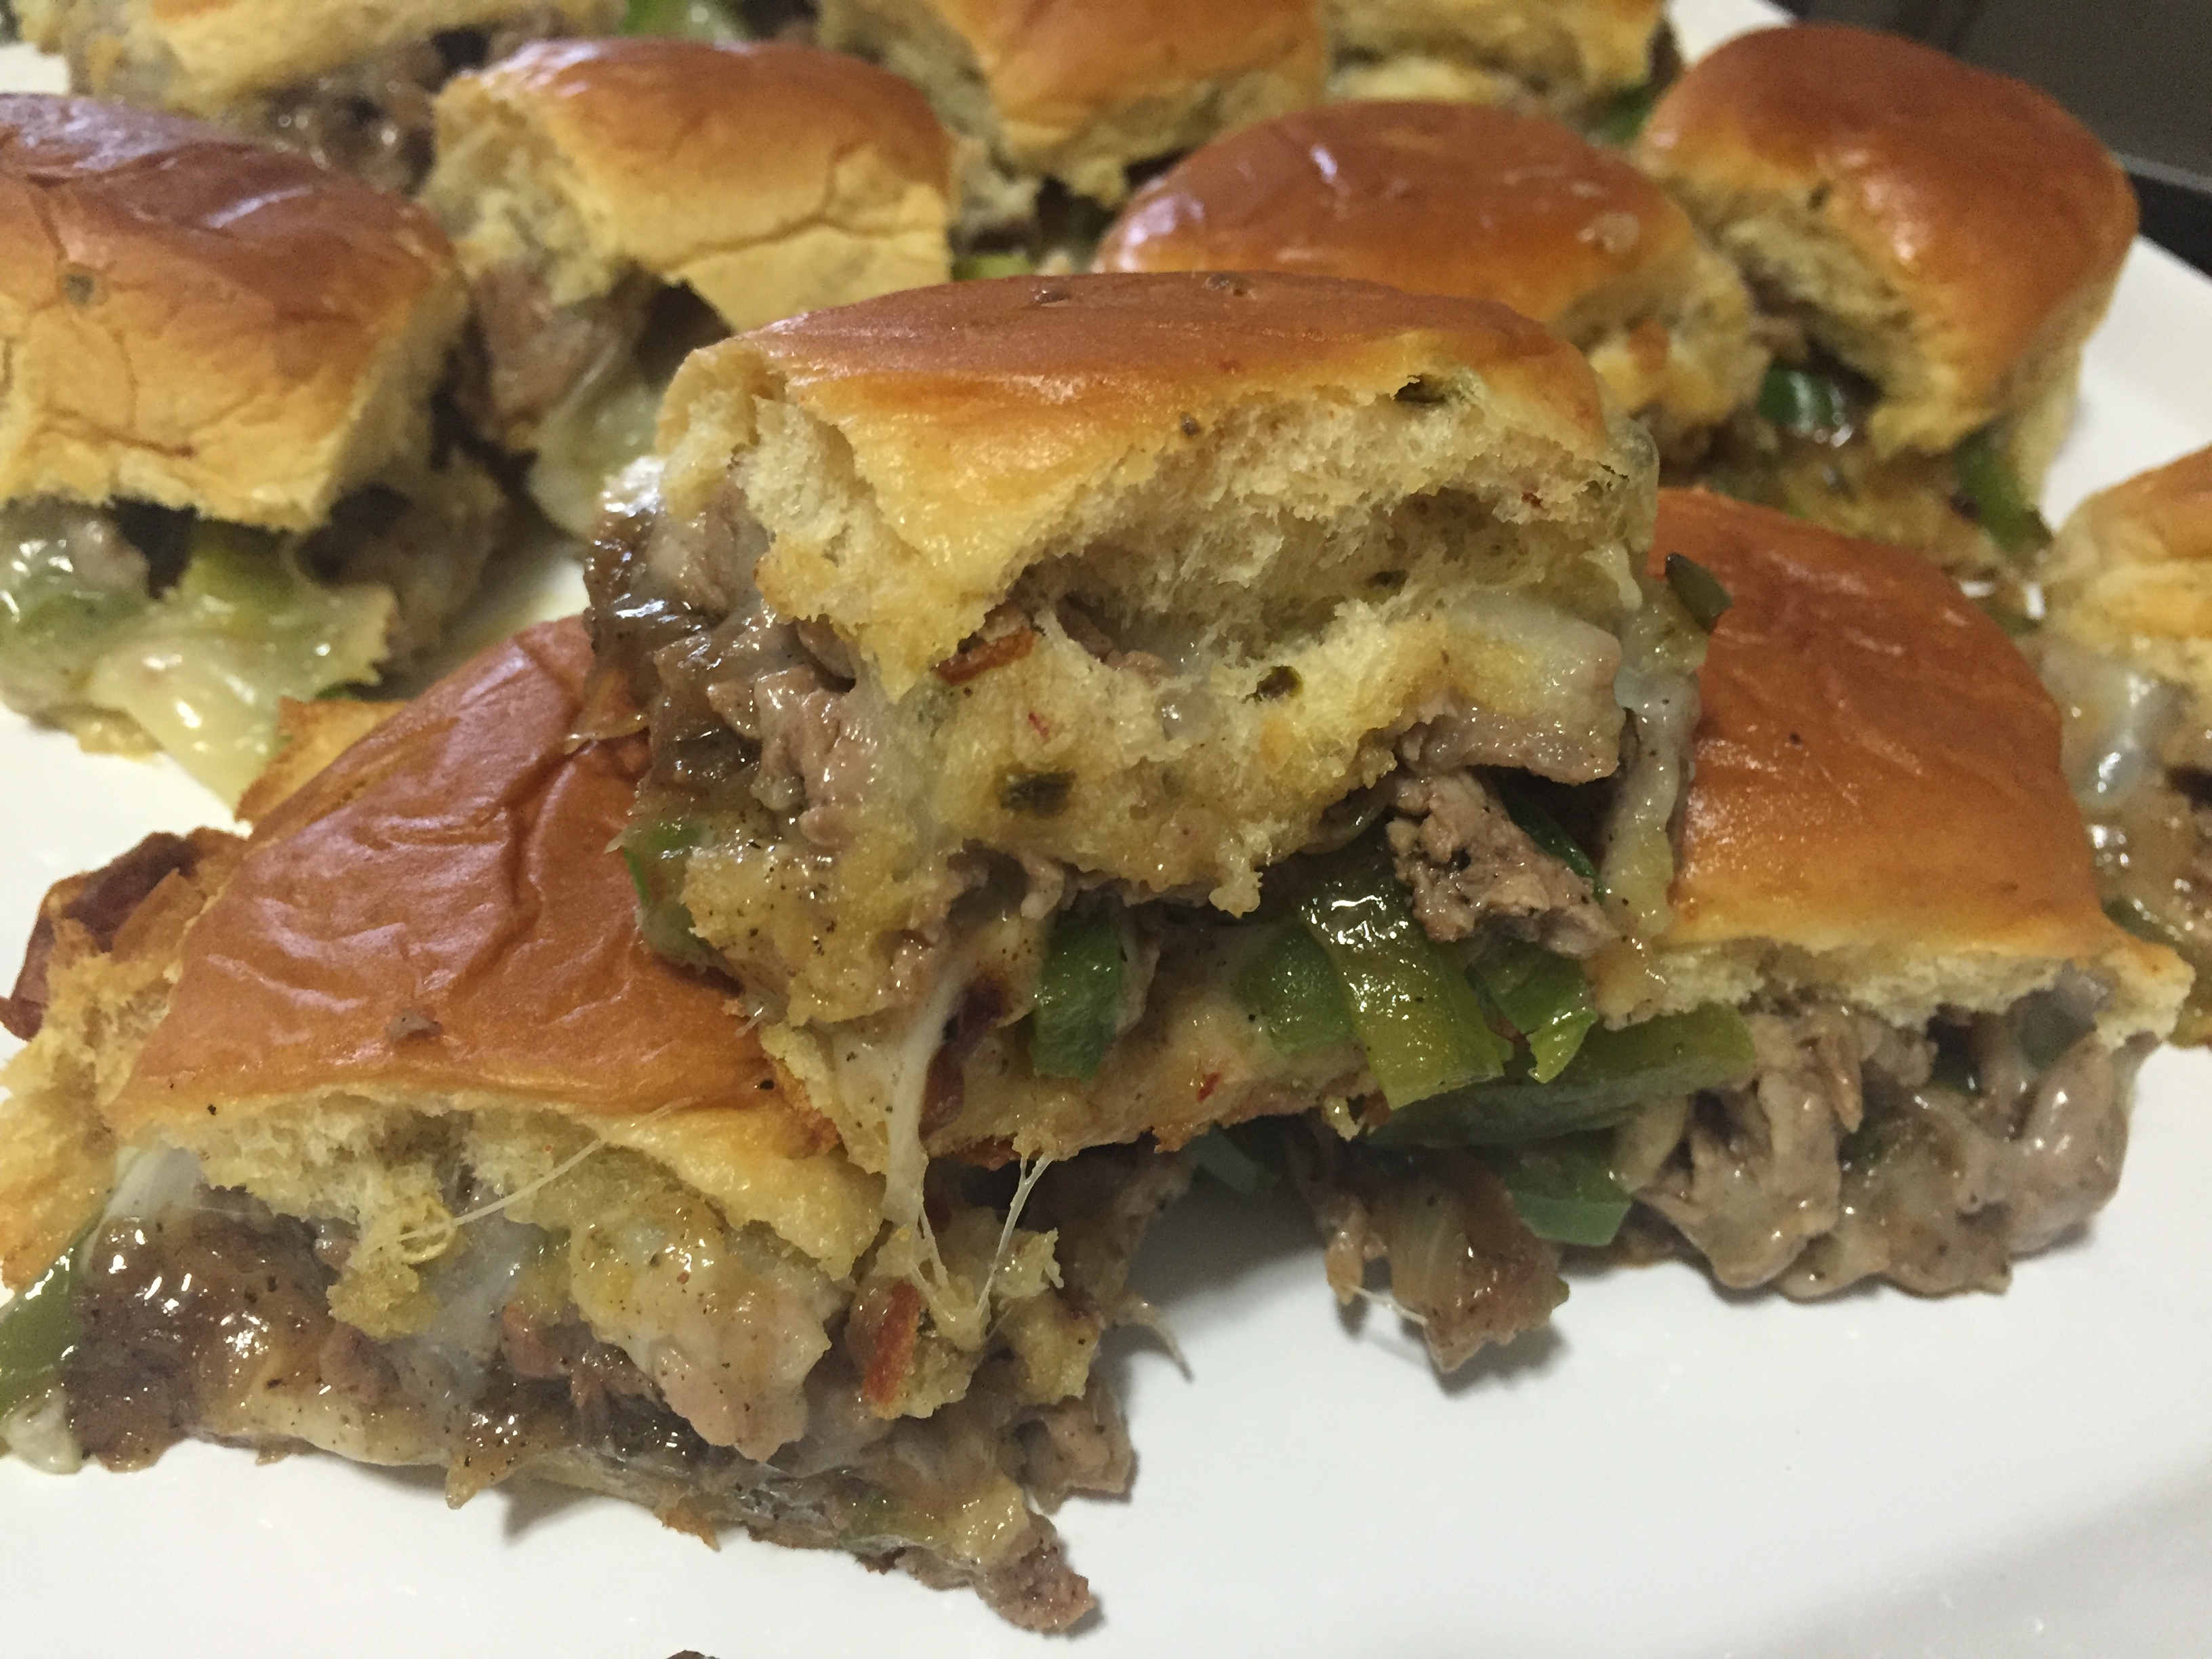
Yes, you can swoon over me….and the amazingness you are about to devour!

Categories
Recipes

Southwest Tacos & Salty Apologies

I know! I’ve been away for a few weeks. I’m so very sorry, my fellow foodies!
Life got super hectic! Finals for my students, weekend trips, planning for conferences, planning for graduate school, quality time with my broskis. No worries, though – I’m BACK!

I’ve got so much to fill you in on: New restaurants, new recipes, and an almost-bug-eyed worthy moment when I tell you about my first Vegan cooking experience. Yep, vegan! Nope, we are not going the full-Monty with being Vegan. We’re simply just not that disciplined, plus – we heart us some meat!

My friend Ashli introduced me to a great vegan bakery in Dallas, more on that little gem later.
I ordered the “Ate layer” burrito and have since (as in, for three solid weeks) been craving this decadent cacophony of flavors. What’s even better? You can choose to eat this vegan, or not. The beau wanted chicken, so we added some.

Here’s what you’ll need: 

olives
black beans (canned or fresh, it’s up to you – following the instructions on the bag if you decide to make them yourself)
quinoa (we used a red bulgur mix)
whole wheat wrap or tortilla, for taco versions
avocado
tomatoes
jalapeños
cheese (NOTE – most vegan cheeses are made with nuts, so be careful if you have allergies!)
mayonnaise
Siracha sauce
chicken tenders, if you want more protein (or can’t seem to go one meal without meat)
Seasoning for your chicken, we used Woody’s Cinnamon Chipotle Rub


Step 1: Slice & Dice
Dice your vegetables and spread them onto a cutting board. This makes building your tacos/wraps so much faster, getting the yumminess in your mouth tons faster!

One beefsteak tomato, one avocado and 3/4 of a jalapeno pepper.
One beefsteak tomato, one avocado, and 3/4 of a jalapeño pepper.

Step 2: MEAT, baby! [If you’re making these meatless, then skip this section]
Pour 3 tablespoons of the dry seasoning (of your choice) into a gallon-sized plastic bag
Add 1.5 pounds of chicken tenders and seal the bag. — We used tenders for portion control. 
Shake well to coat each tender thoroughly.
Spray a pan with non-stick cooking spray and place on a burner set to medium-high heat.
Place the strips in the pan and cook them for about 3 minutes on each side.
Once cooked through, remove the chicken tenders and place them on a cutting board.
Let them cool for a few minutes while you start putting those tacos together!
Slice them in half and place one half-strip into one taco.

IMG_2950

Step 3: The Sauce
In a small bowl, mix 2 tablespoons of Siracha with 3 tablespoons of Mayonnaise. This is a bit more on the spicy side, so if you want it creamier – add more mayo.

Step 4: Building Tasty!
Using wraps means you can either heat up the tortilla, or not. If you’re using tortillas from a pack, you definitely want to heat them up. They taste better!
We served two tacos per person. Heat up as many as you need, but let me say this – two is plenty!
Once you’ve got the taco on your plate, you can start building.

Add ingredients in any way you choose; a bit of everything. Don’t forget the sauce!
Your finished product should look something life this:

IMG_2951
Drooling? I certainly hope so! Go make some!


These tacos were super easy to make, and on the table in under 25 minutes!
Two of these southwestern delights come out to about 450 calories. No need to feel guilty about scarfing these down.
Feel like you need sides? Slice up a cup of watermelon or pineapple for a quick dessert.

Let me know what you think.
Again, you can easily make them vegan by simply removing the chicken tender strips from the equation.
Your tacos will still be equally scrumptious.

Much love,
CerebellumChef